

Overview
Demokraft AI writes a document from the script of a Studio project in the Document tab (see Generate Guide/Doc). A doc template decides how that document is organised and written: which sections it has, in what order, what each section should cover, who the reader is and what tone to use. Doc templates apply to Studio projects created from an extension recording, an uploaded video, or an uploaded presentation. Use them to turn one video into a help-centre article, a how-to guide, an FAQ, a knowledge base article, or a standard operating procedure (SOP).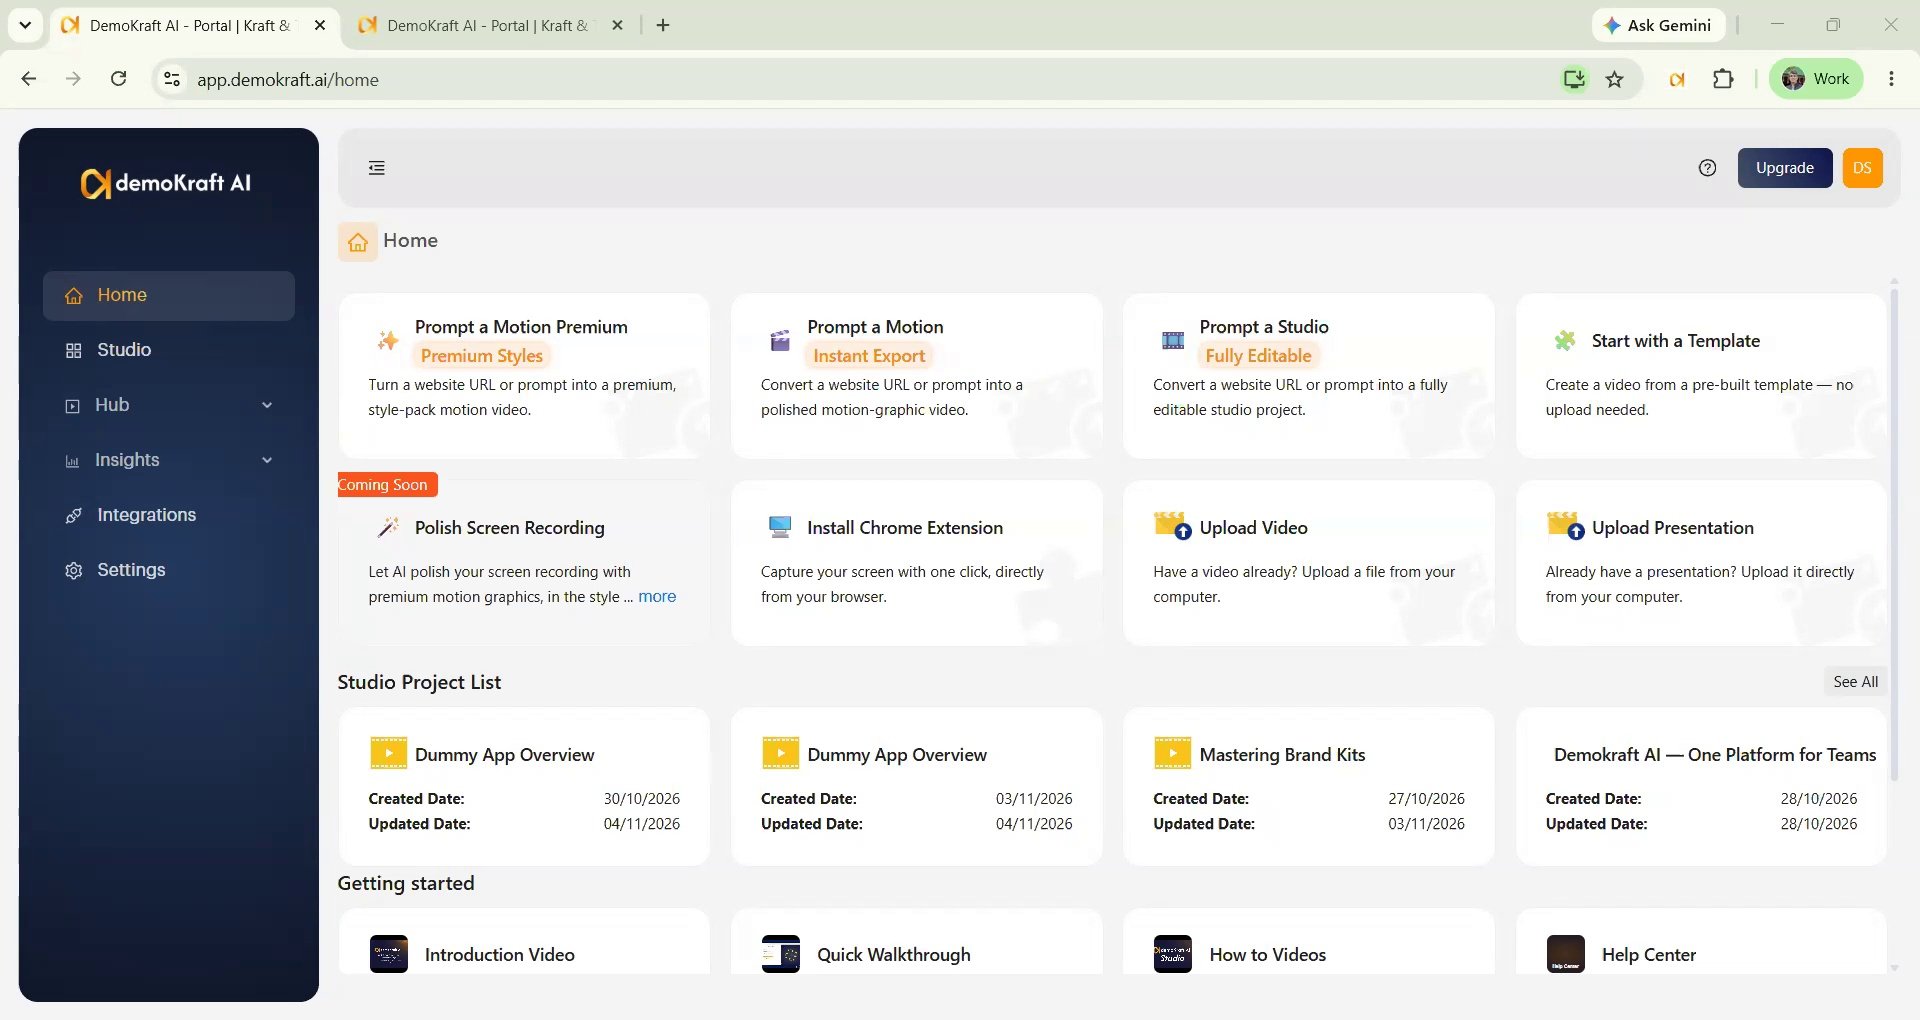
What a template does, and what it doesn’t
A template shapes the presentation of the document. The facts always come from your video’s script:- If a template asks for something the video doesn’t mention, that part is left out rather than made up.
- Greetings, sign-offs and the narrator’s general remarks about the product are left out so the document stays on topic. Concrete facts such as a limit, or the uses the video names, are kept.
- A value you use only to demonstrate (a sample word you type, “the third row”) is not written as the reader’s step. The step is described in general terms and your sample appears once, as an example.
- A template does not control fonts, colours or page layout. Those stay the same for every document.
Review the standard templates
From the Demokraft AI home page, open Settings and select Doc templates under Configurations. The standard templates are listed first, marked Standard.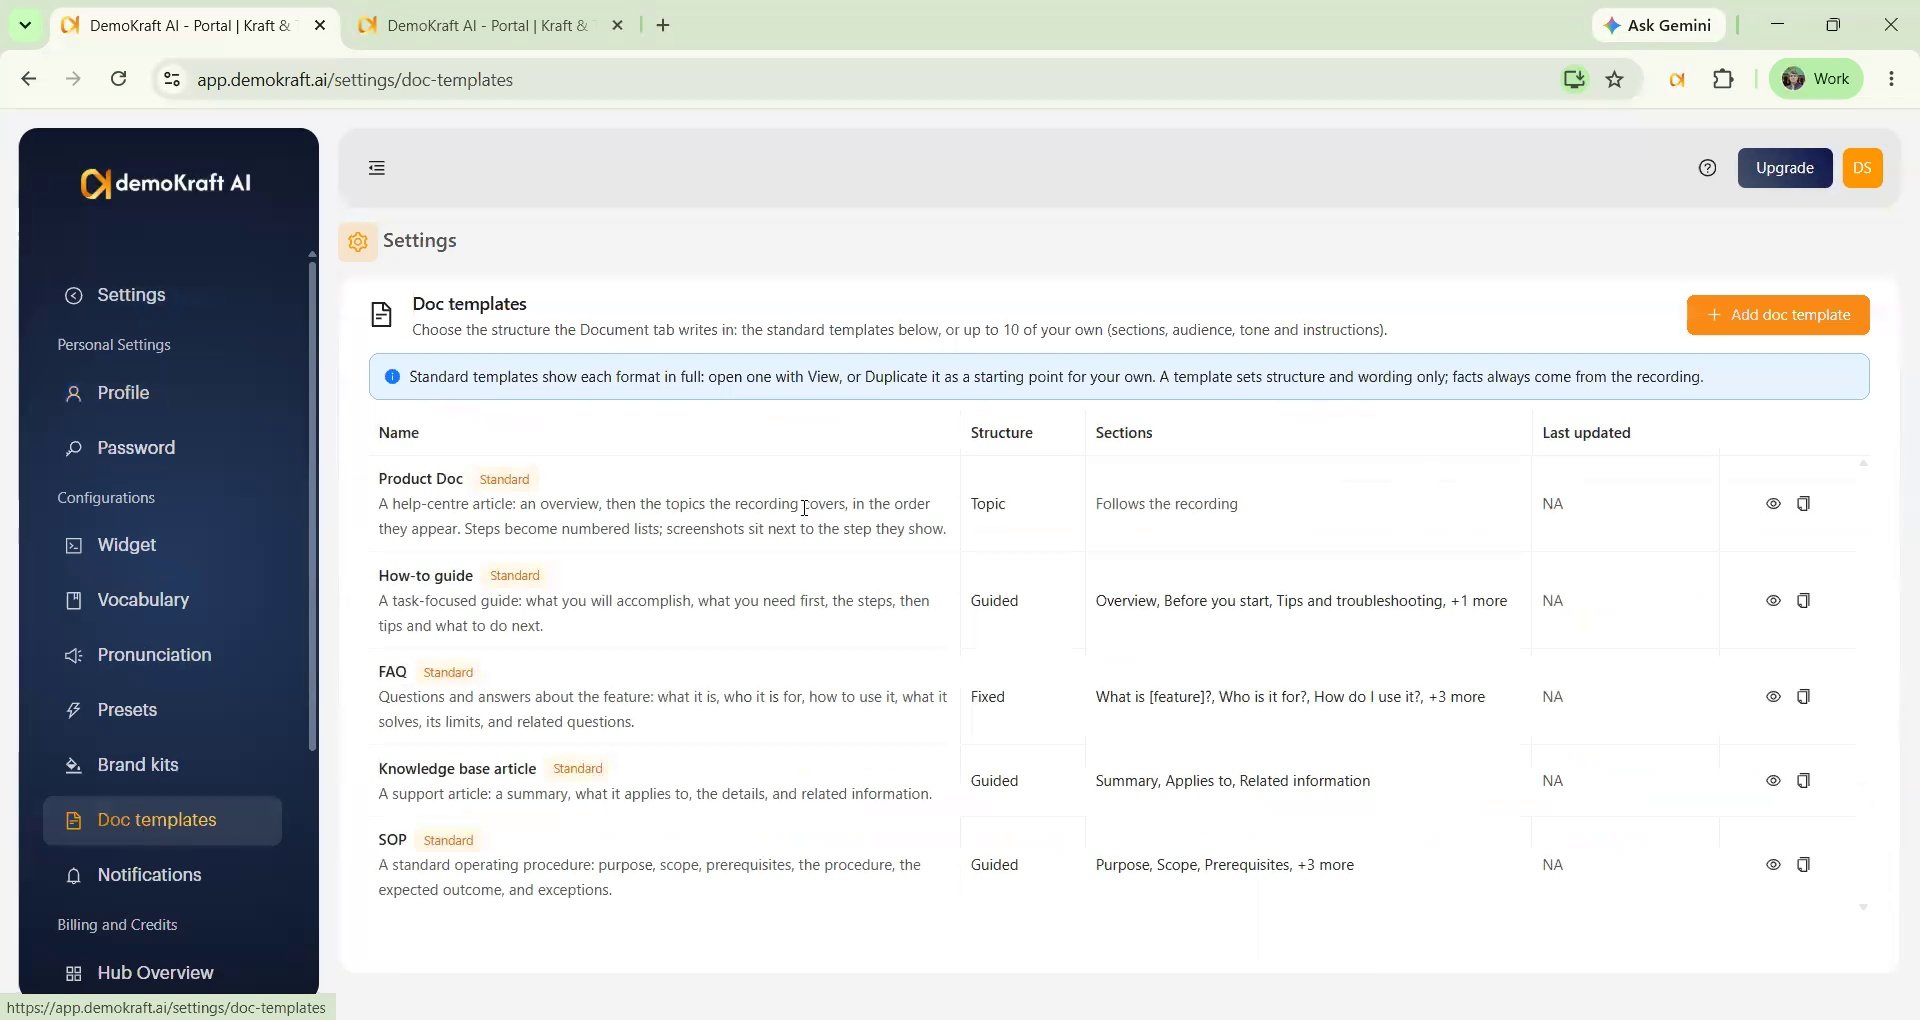
Sections marked as optional (for example “Before you start” or “Are there any limitations?”) are left out when the video says nothing about them, or nothing that another section hasn’t already said.
Standard templates cannot be changed, but View (the eye icon) shows every setting and section, so they are the best way to learn how a template is built.
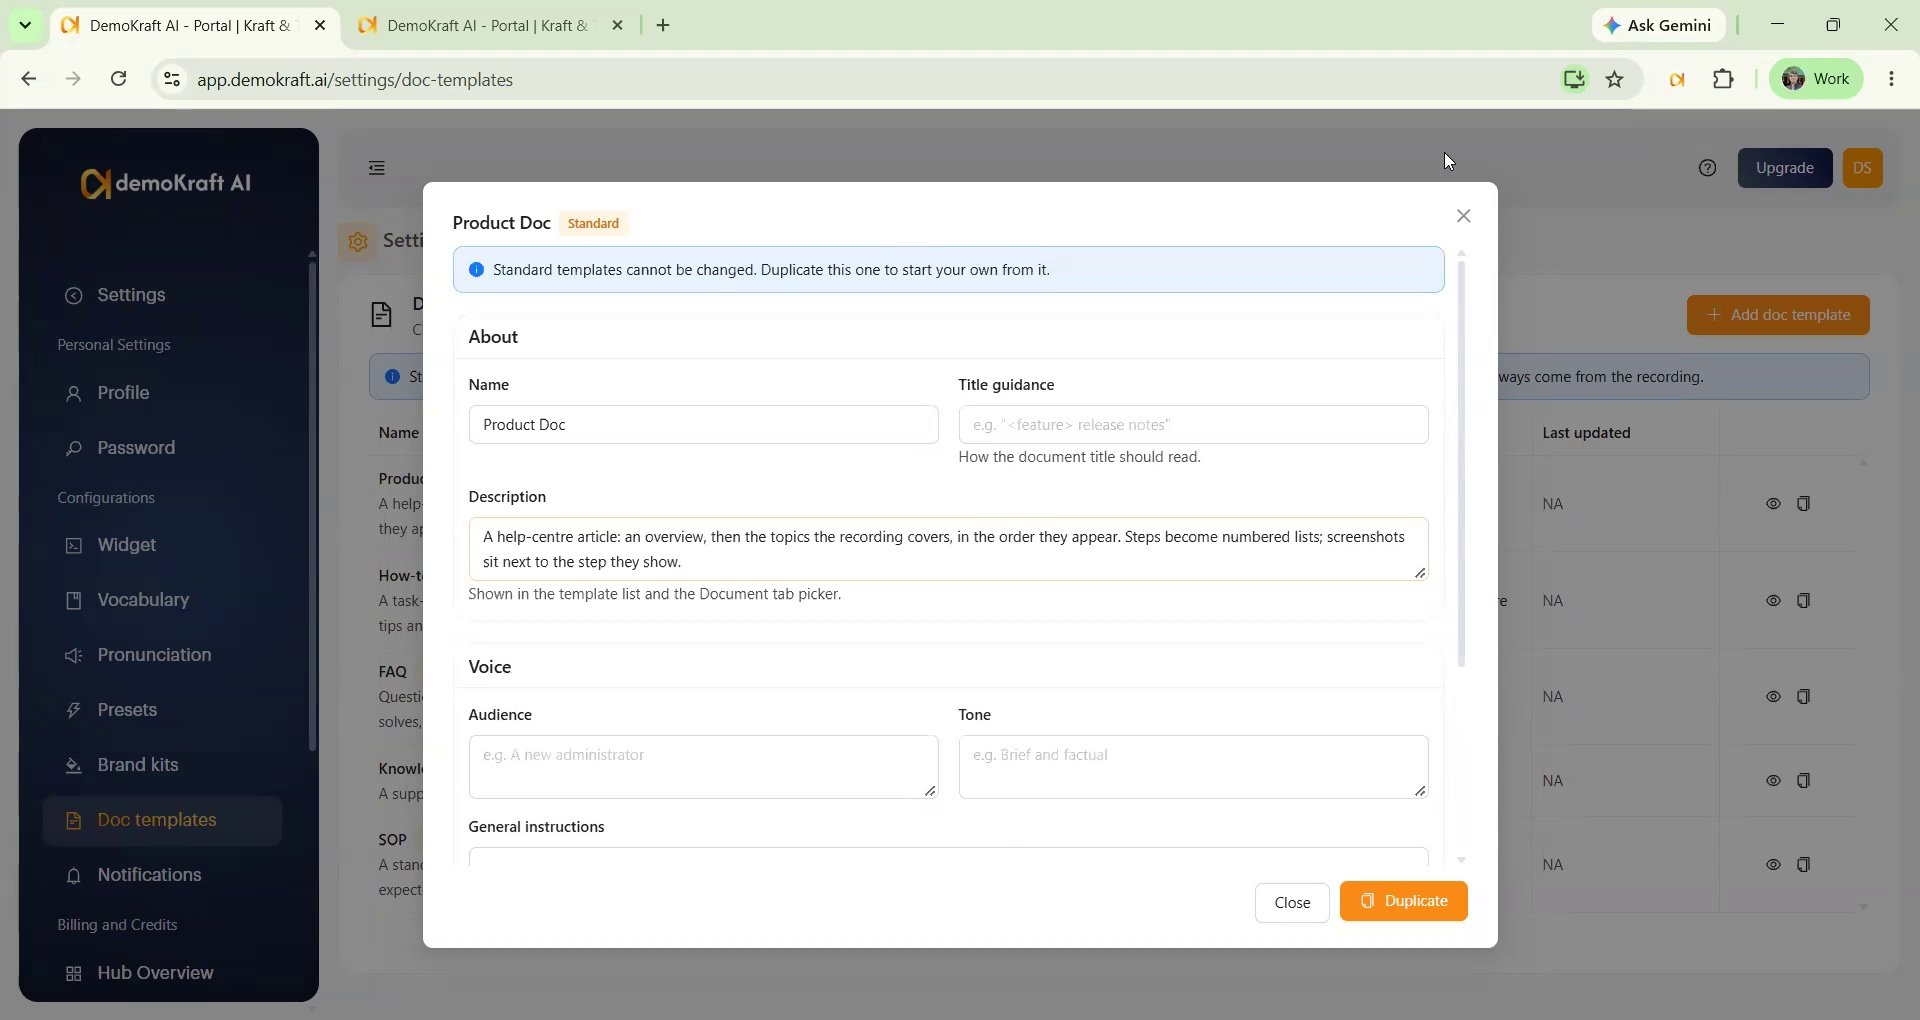
Create your own doc template
You can have up to 10 custom templates. Custom templates can be edited, duplicated and deleted. Deleting or editing a template does not change documents that were already generated with it.1
Start from a copy or from scratch
On the Doc templates page, use Duplicate (the copy icon) on the standard template closest to what you want. This creates an editable copy named “Copy of …”. Or select Add doc template to start from a blank template.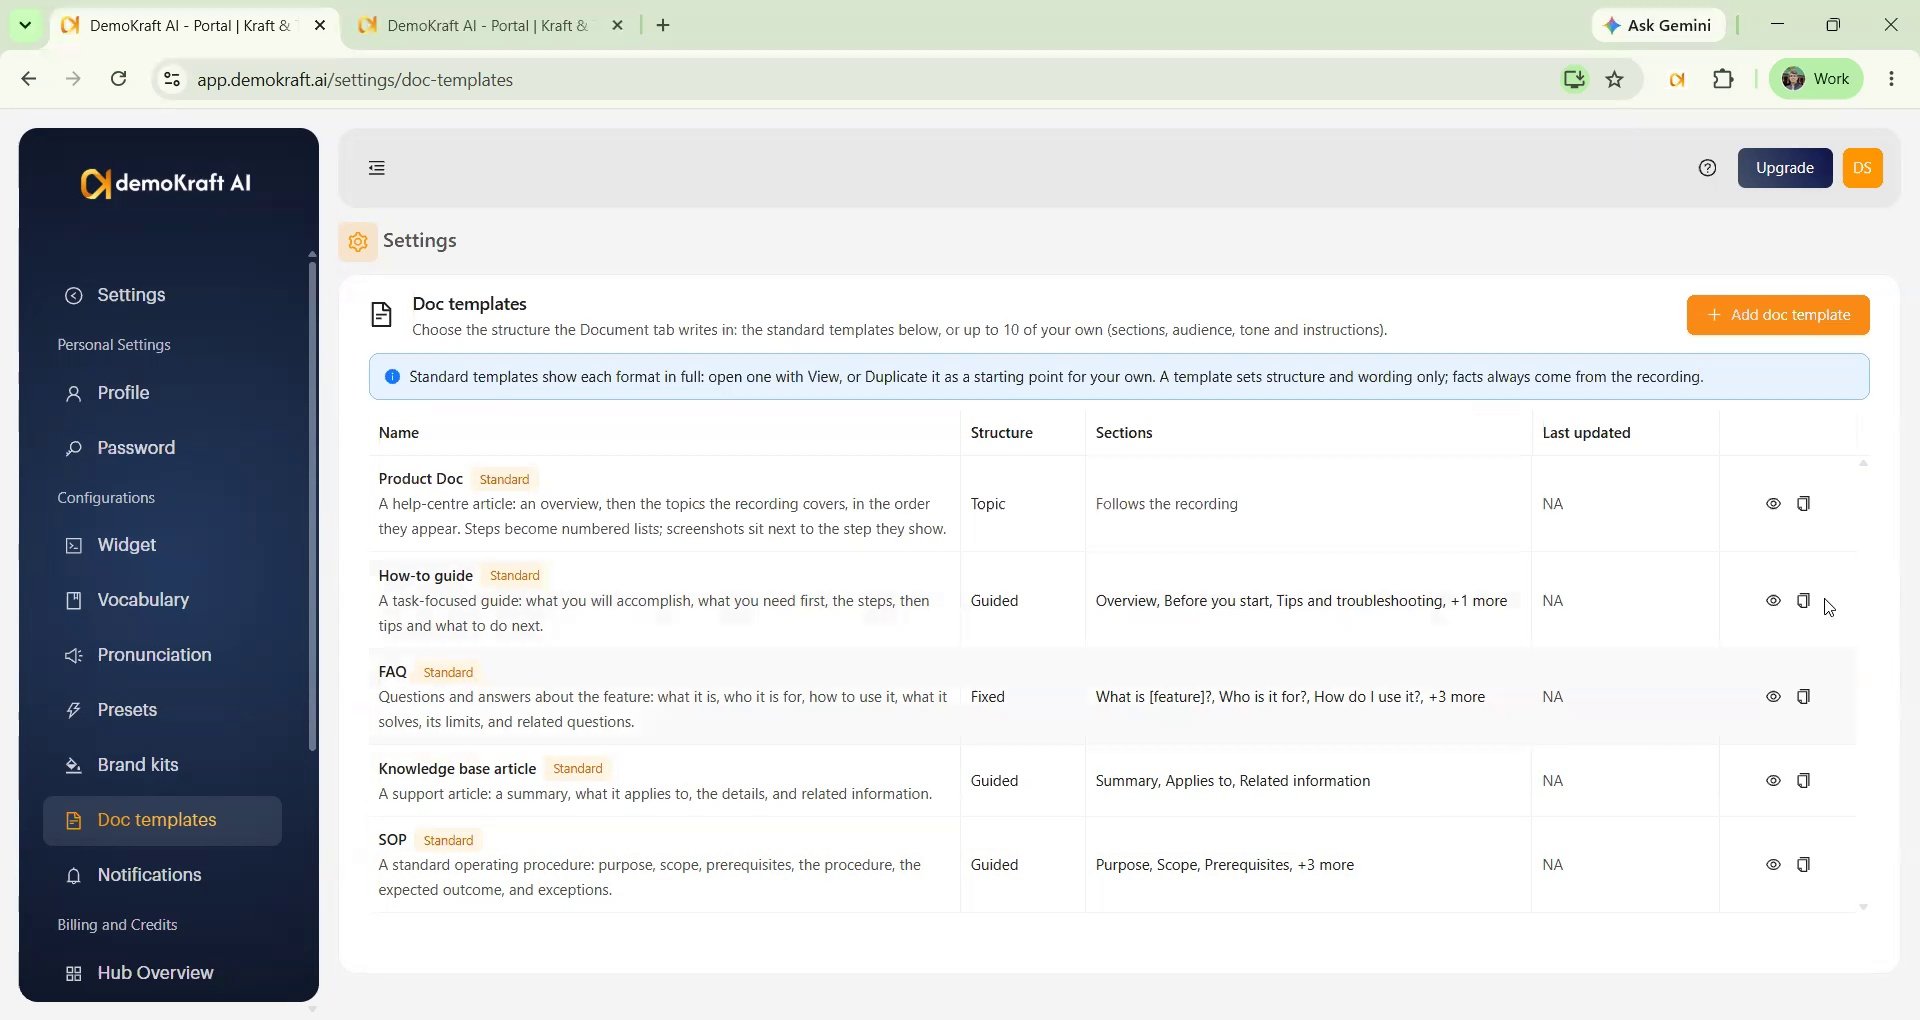
2
Fill in About
3
Set the Voice
These three shape how the document is written. They can’t add facts that are not in the video, and they can’t make the writing promotional.
4
Choose a Structure
5
Define the Sections (Fixed and Guided only)
Add up to 12 sections. Use the arrows to move a section up or down, and the bin icon to remove it.
6
Save the template
Click Create (or Save when editing). The editor lists anything that needs fixing before it saves:
- The template needs a name that no other template uses.
- A Fixed template needs at least one section.
- In Fixed and Guided templates, at least one section must be required (Optional off) and use its own part of the video (whole script off). This gives every part of your video a place.
- A free-form section needs an instruction.
- A heading can contain only one [placeholder].
- If the template is too long, shorten the instructions.
”Give the writer the whole script”
Studio splits your video into parts and normally gives each part to one section. That section writes about its own part of the video and shows screenshots from it, so every part of the video lands in the document exactly once. Some sections don’t belong to one part of the video. “Who is it for?” or “What problem does it solve?” may draw on something said at the start and something said near the end. For those, turn on Give the writer the whole script:- The section doesn’t take a part of the video. Its writer reads the whole script and answers the section’s instruction from anywhere in it.
- It is written after the other sections and avoids repeating what they already say.
- It has no screenshots, because it isn’t tied to one moment in the video.
- It still uses only facts from the script.
Tips for good templates
- Start from a standard template. Duplicate the one closest to what you want and change it.
- Write instructions about the reader’s need, not about the video. “Explain what happens after export” works better than “Summarise minute three”.
- Make “nice to have” sections optional so short videos don’t get empty sections.
- Use Steps for anything the viewer clicks through. That is where screenshots appear.
- Keep the number of sections modest. A short video with twelve sections makes thin sections.
Generate a document with a template
1
Open the Document tab
Open your project in Studio and click the Document tab at the top of the editor. Your video script is the input, so open the tab only after the script is final.
2
Choose a template
The first time, a window asks you to choose a template. Product Doc is already selected. The window lists the standard templates first, then your custom templates. Each card shows the template’s description and its first few section headings, so you can see the structure before you choose. Manage templates opens the Settings page where you create your own.If you close the window without choosing, click Generate document in the Document tab to open it again.
3
Generate
Pick a template and click Generate. Writing the document takes a minute or so. Afterwards you can edit text, rewrite it with AI and swap screenshots as described in Generate Guide/Doc.
Regenerate in a different template
After a document exists, click Regenerate at the top of Studio, next to Save, and pick another template.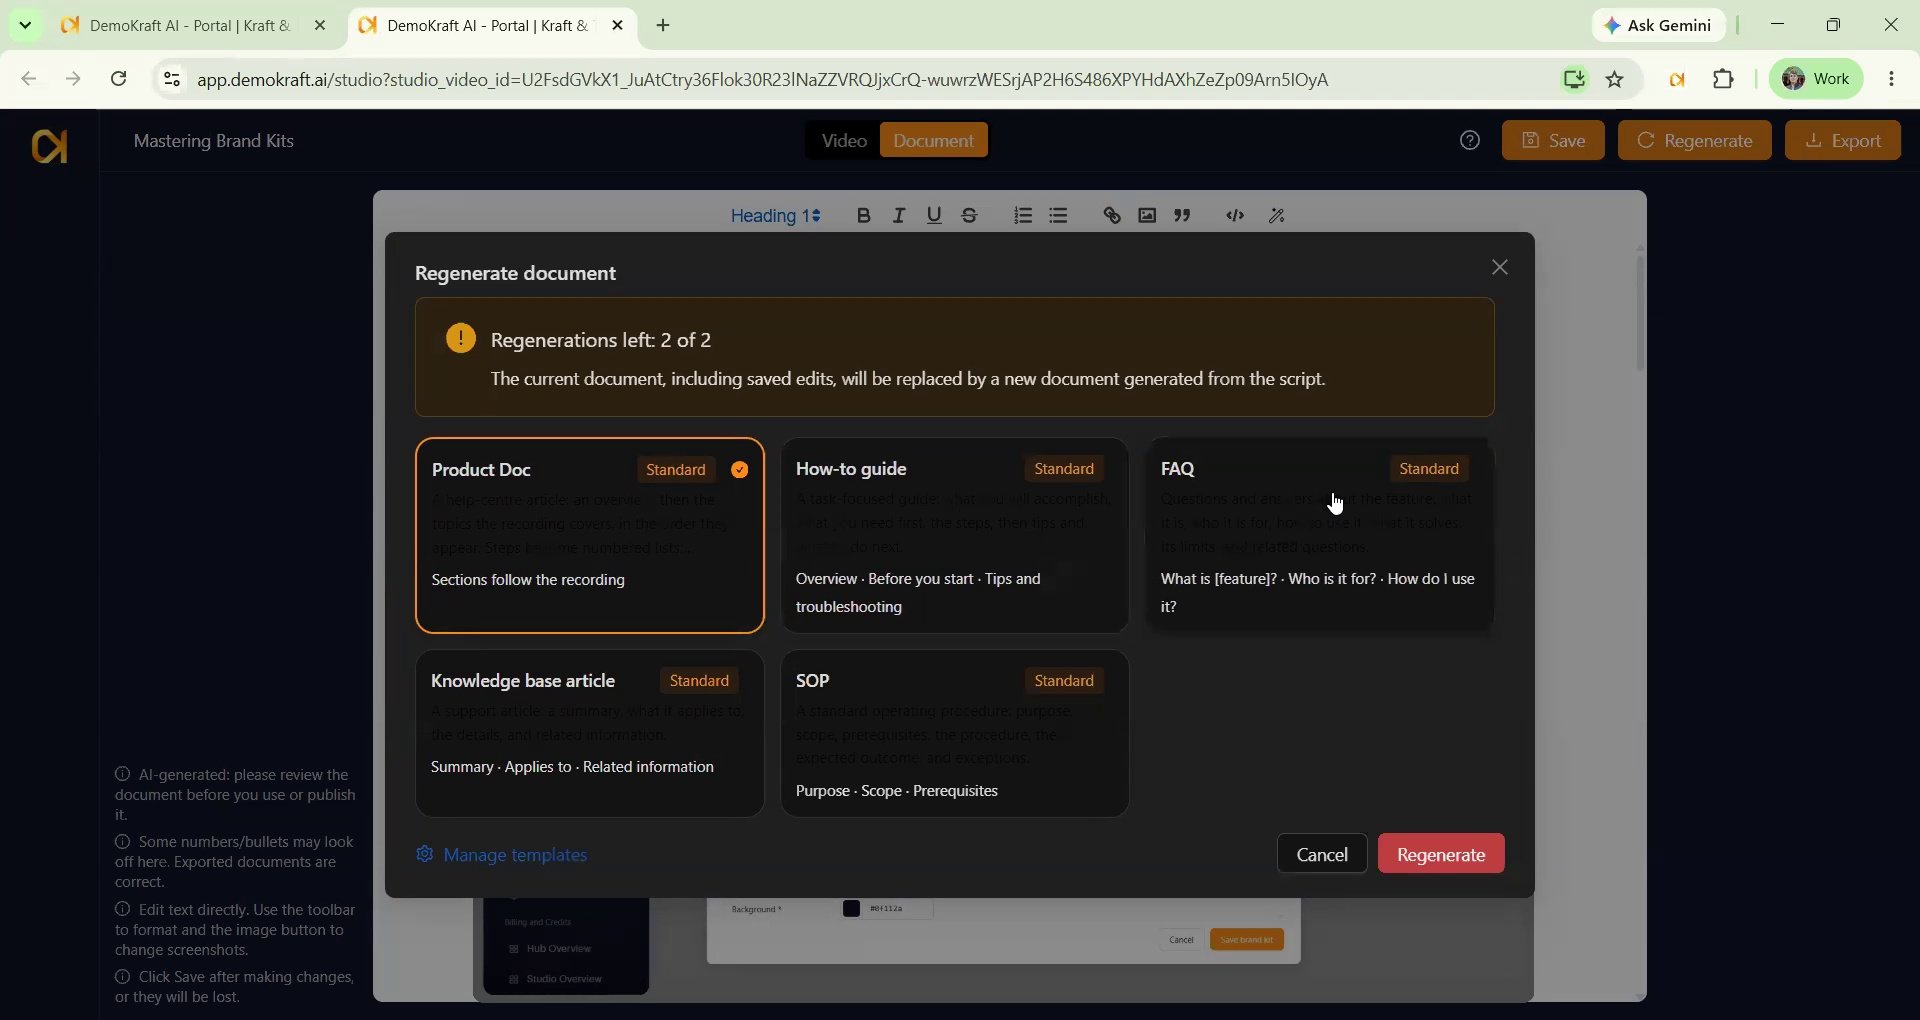
- You can regenerate twice per project. The window shows how many regenerations you have left.
- Screenshots are taken again for the new document. Documents you exported earlier keep their own screenshots.
- If the chosen template could not be applied, Studio writes a Product Doc instead and the Document tab tells you so. That attempt does not use up a regeneration, so you can try again.