

Overview of Blur and Spotlight Effects
This article explains how to apply blur and spotlight effects within your project using the studio mode. These effects allow you to emphasize or obscure specific areas in your video to improve clarity and focus for your audience.
Accessing the Effects Menu
You begin by opening your existing project in the studio. Locate the Effects option on the left side of the interface to access available visual effects that can be applied to your project. Within the Effects menu, there are multiple options are provided: Blur, Spotlight, and Zoom. Each effect offers distinct functions to enhance video content by adjusting visibility and focus in specified areas.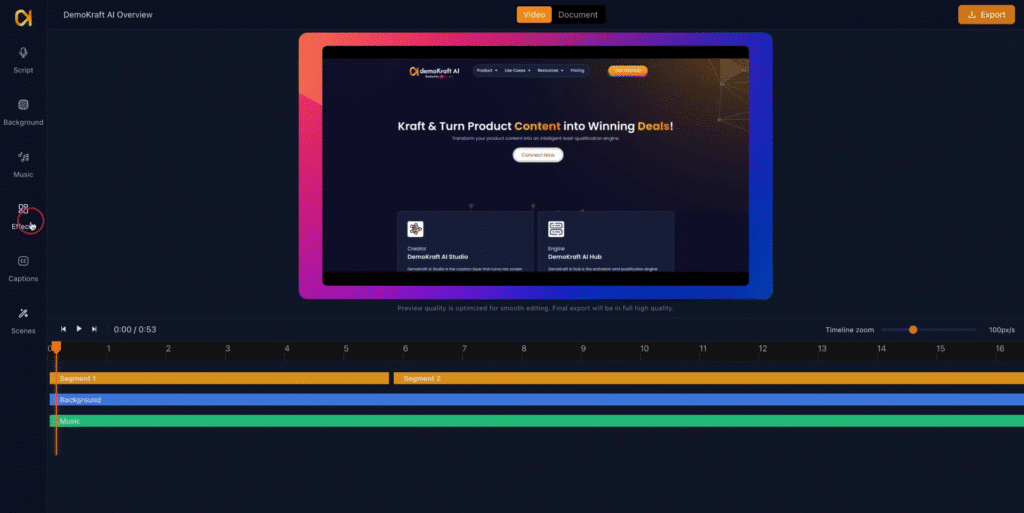
Applying the Blur Effect
Select the Blur option to overlay a rectangular blur area on the video. This blurred area can be positioned and sized to obscure sensitive or distracting information.
Adjusting the Blur Size
You may increase or decrease the blur radius to cover the desired content effectively. Adjusting the size ensures precise control over the obscured area.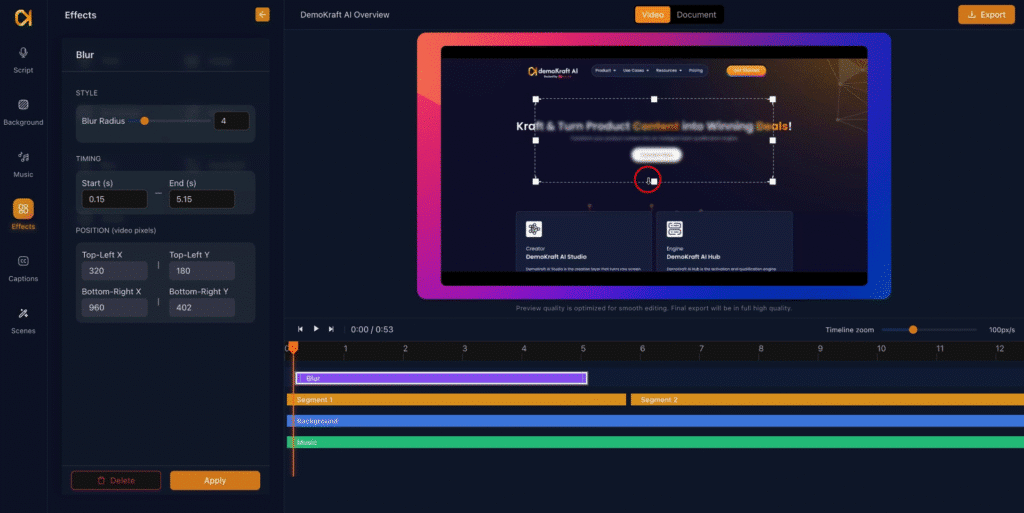
Configuring Blur Timing and Position
The blur effect supports timing customization, allowing you to set the exact start and end points during the video playback. Position adjustments can be made directly via cursor interaction or by entering values manually. Once configured, clicking Apply activates the blur with the specified parameters.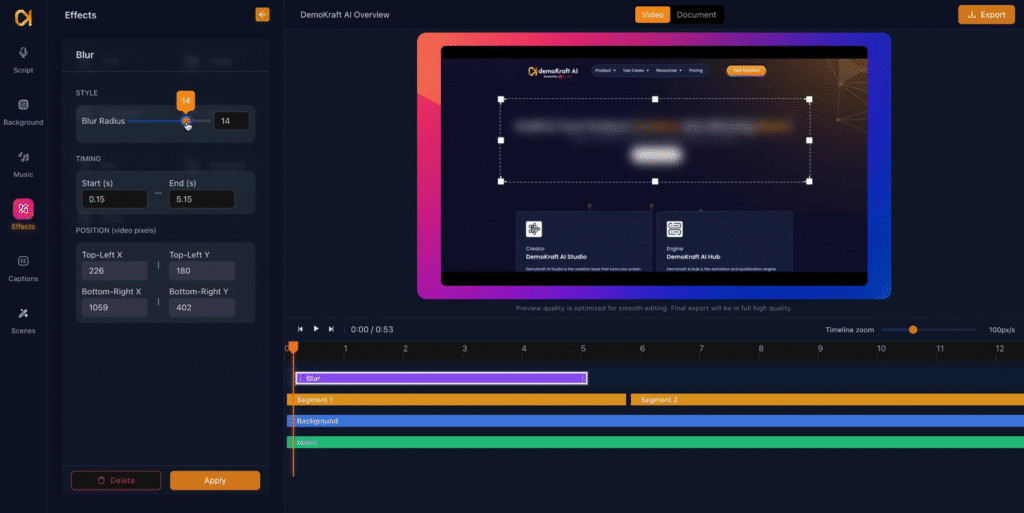
Removing the Blur Effect
To remove the blur effect, select the blur effect layer element in layers, click the delete button in blur config panel or right click on blur effect layer element and select “Delete”. This action clears the blur overlay from the video timeline.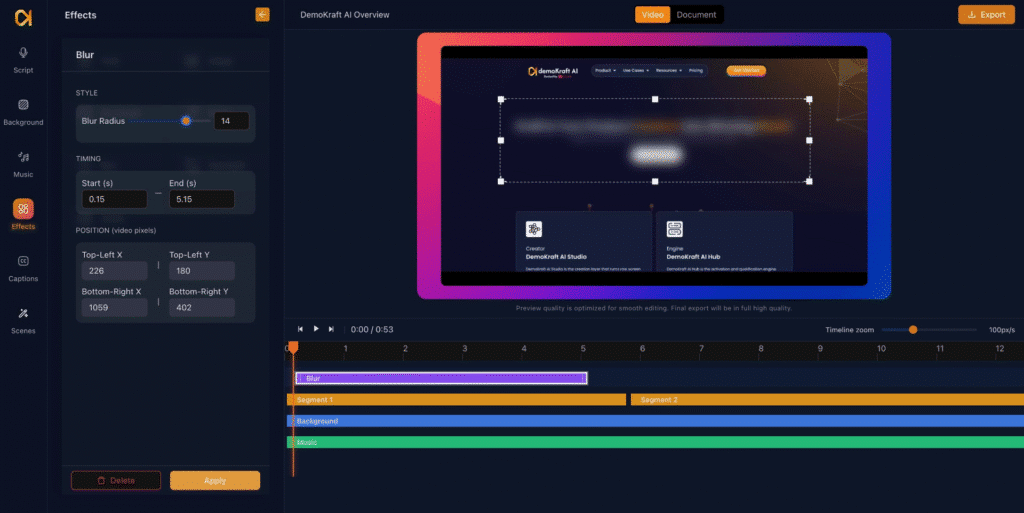
Applying the Spotlight Effect
You can use the spotlight effect to highlight specific video areas, enhancing viewer attention without obscuring content. Select the Spotlight option to add a rectangular highlight on your video. This spotlight focuses attention on particular content areas by brightening the selected region amidst a darkened background.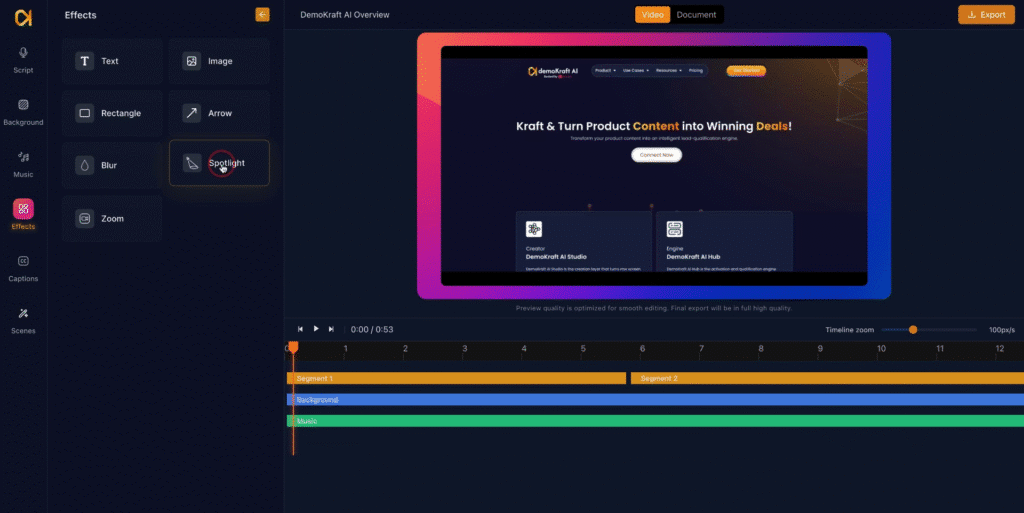
Customizing the Spotlight Darkness
Control the darkness of the surrounding area through the darkening factor setting. Adjusting this value increases or decreases background dimness, making the spotlighted area more or less prominent according to your preference.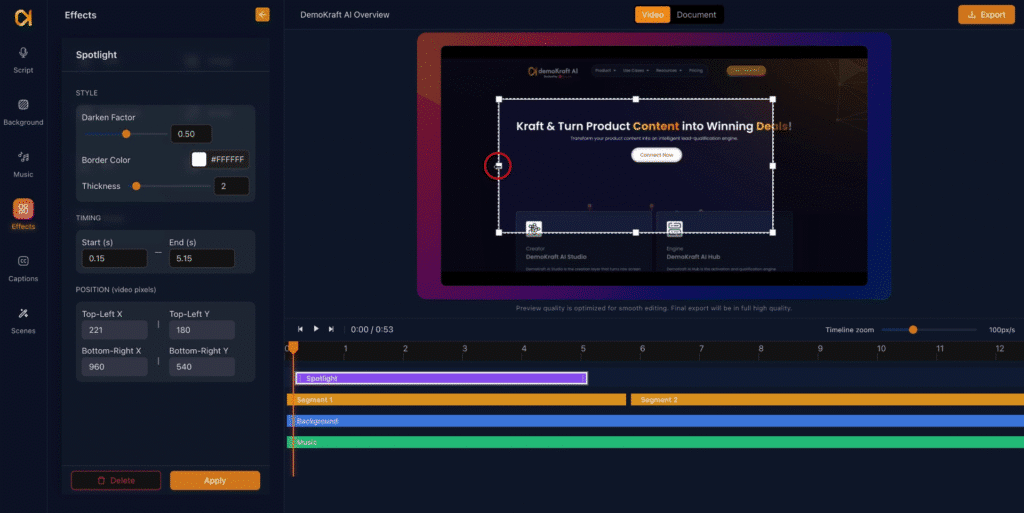
Further Spotlight Customization
Additional customization options include setting the border color and thickness of the spotlight area. You can also configure the start and end times for spotlight visibility and adjust positioning either interactively or via manual input. Apply the effect once satisfied to implement changes. To remove the Spotlight follow the same steps as mentioned above to remove blur effect.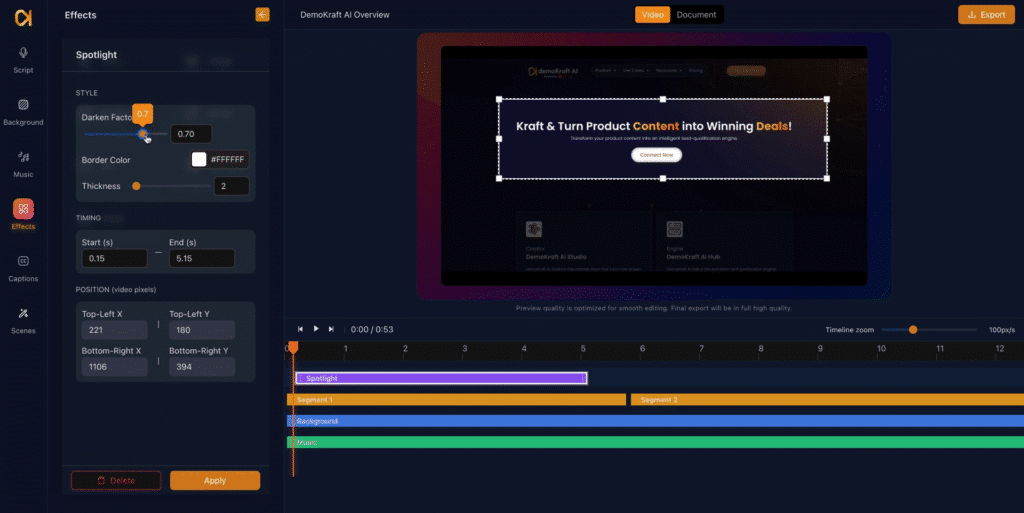
Introducing the Zoom Effect
The Zoom effect enables magnification of specific areas within your video to draw focus on important details or features.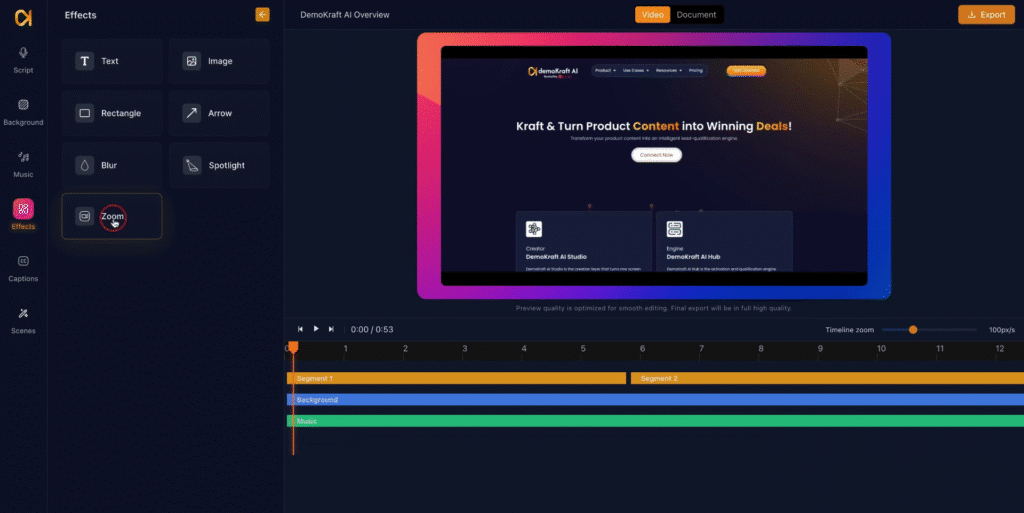
Designating Zoom Area Using Position Pad
Utilize the position pad found on the zoom config panel to select the precise area you want to zoom into, such as a product menu or highlighted feature.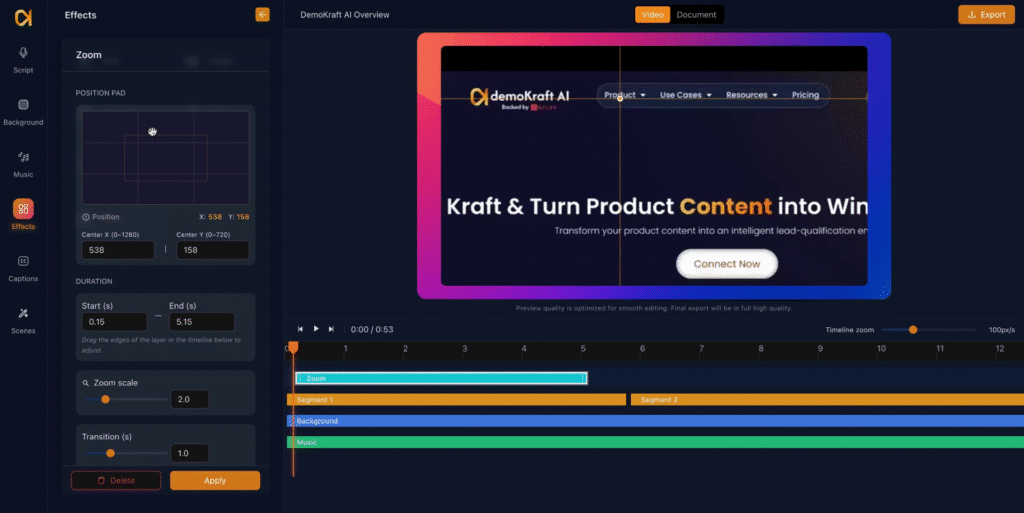
Applying the Zoom Effect and Transitions
Choose a transition style to define how the zoom effect appears and disappears. After applying, the zoom effect will play automatically during video playback according to the configured settings.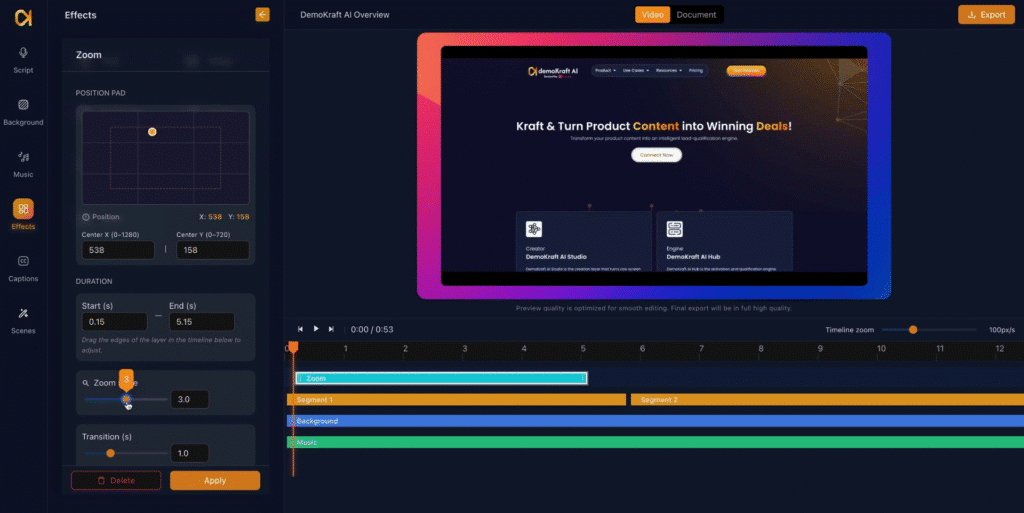
Applying Multiple Zoom Effects
Multiple zoom effects can be incorporated into your project, each with distinct durations and positions. This flexibility allows detailed focus on various segments of your video to enhance viewer engagement and comprehension.